Deploy Frontend & Backend on AWS EC2 Using Ansible Galaxy: Step-by-Step Guide
Table of Contents
- Introduction
- Prerequisites
- Setting Up Your Ansible Project
- Creating EC2 Instance Role
- Configuring the Frontend with Nginx
- Configuring the Backend with Node.js & Express
- Running the Full Deployment
- Testing & Verifying Your Deployment
- Troubleshooting Common Issues
- Important Notes About Custom Ports
- Conclusion
1. Introduction
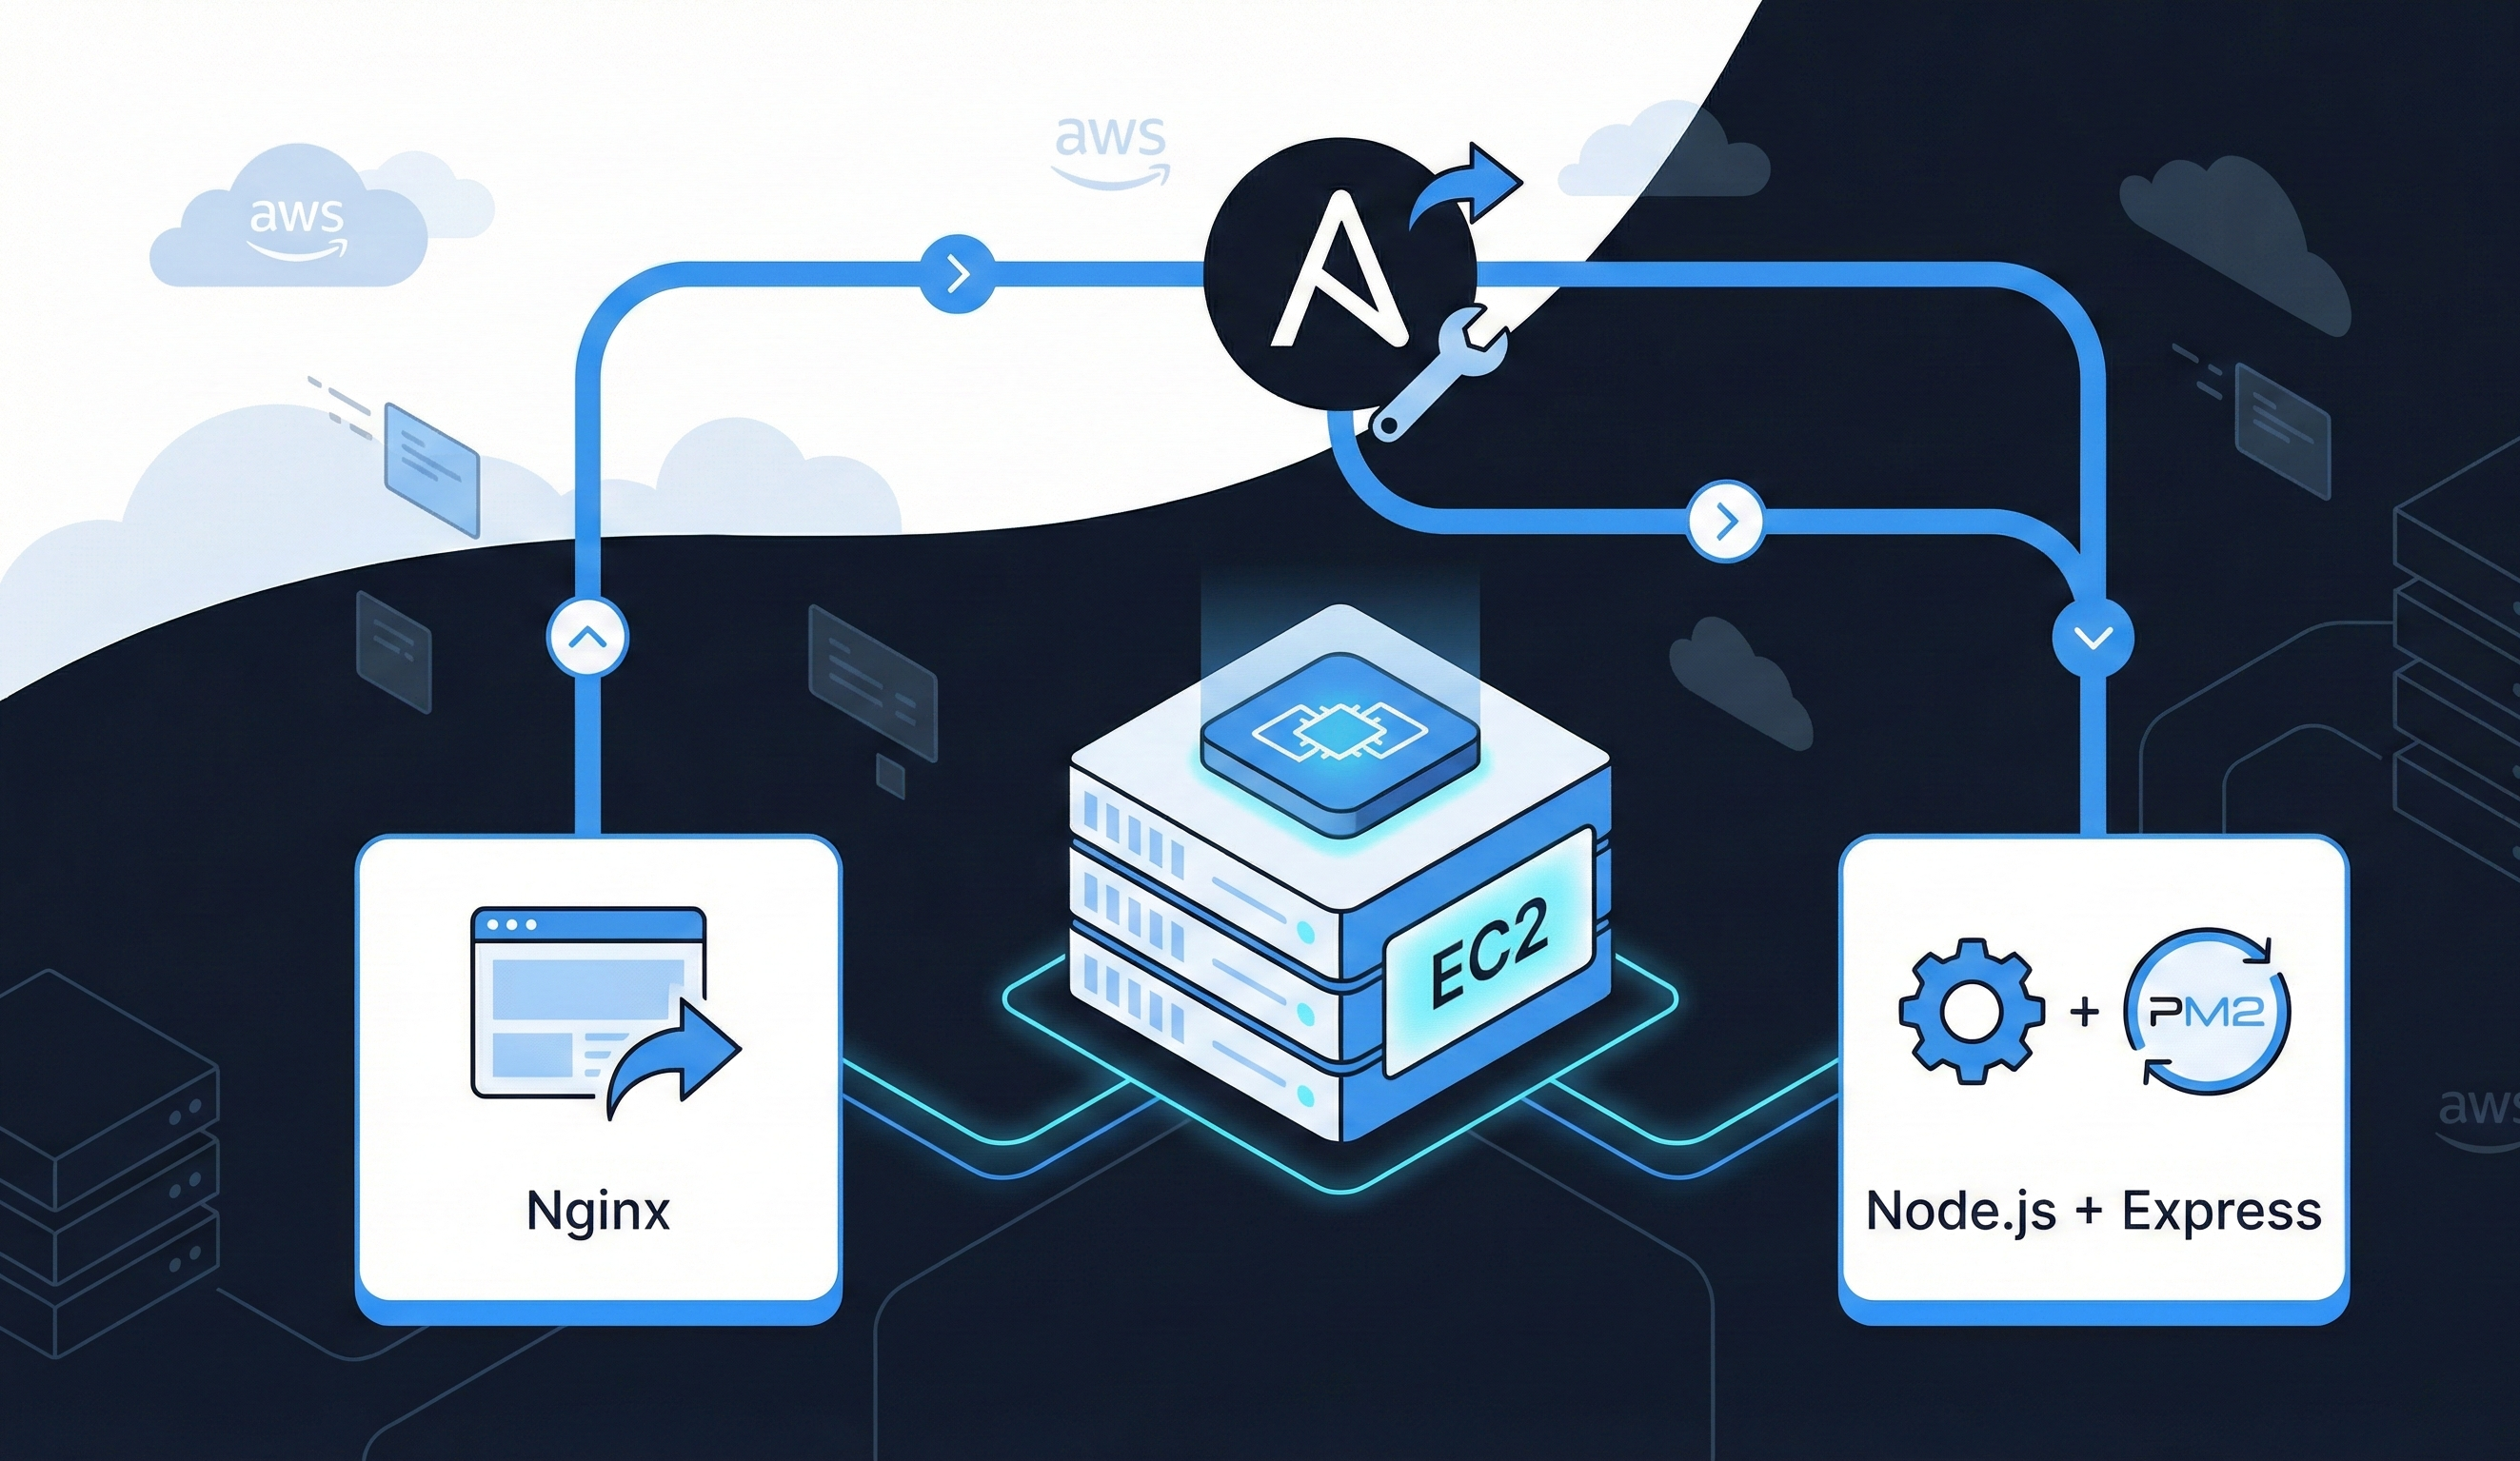
Automating cloud deployments can save hours of manual work and make your infrastructure reliable and repeatable. In this tutorial, you will learn how to:
- Launch an AWS EC2 instance using Ansible Galaxy.
- Deploy a frontend using Nginx.
- Deploy a backend using Node.js and Express, managed with pm2.
- Automate everything with Ansible roles so you can reuse your setup easily.
By the end of this guide, your EC2 instance will be running both a frontend and backend service, fully automated, and ready to serve real traffic.
2. Prerequisites
Before we start, ensure you have the following:
- An AWS account with a key pair created.
- Ubuntu EC2 instance or knowledge to launch one via Ansible.
- Ansible installed on your local machine.
- AWS CLI configured on your local machine.
- Basic knowledge of Node.js and Nginx.
3. Setting Up Your Ansible Project
First, we create a structured project folder for all roles and playbooks. A clear directory structure keeps everything organized:
ansible_project/
├── create_instance/
│   ├── tasks/main.yml
│   └── defaults/main.yml
├── frontend/
│   └── tasks/main.yml
├── backend/
│   └── tasks/main.yml
├── site.yml
└── vars.yml
- create_instance → role to launch EC2.
- frontend → role to configure Nginx and deploy static frontend.
- backend → role to configure Node.js, Express, and pm2.
- site.yml → master playbook to run all roles sequentially.
- vars.yml → contains instance details like AMI, type, key name, and security group.
4. Creating EC2 Instance Role
Defaults (create_instance/defaults/main.yml)
instance_name: dev-ubuntu-instance
ami_id: ami-020cba7c55df1f615
instance_type: t2.micro
key_name: Ansible-1
region: us-east-1
security_group: launch-wizard-3
Tasks (create_instance/tasks/main.yml)
- name: Launch EC2 Instance
  amazon.aws.ec2_instance:
    name: "{{ instance_name }}"
    key_name: "{{ key_name }}"
    instance_type: "{{ instance_type }}"
    image_id: "{{ ami_id }}"
    region: "{{ region }}"
    security_groups:
      - "{{ security_group }}"
    wait: yes
    count: 1
    network:
      assign_public_ip: yes
    tags:
      Name: "{{ instance_name }}"
      Environment: dev
  register: ec2

- name: Add new instance to inventory group
  add_host:
    name: "{{ item.public_ip_address }}"
    groups: launched
  loop: "{{ ec2.instances }}"

- name: Save dynamic inventory to file
  copy:
    dest: ./inventory.yml
    content: |
      all:
        hosts:
          webserver:
            ansible_host: {{ ec2.instances[0].public_ip_address }}
            ansible_user: ubuntu
            ansible_ssh_private_key_file: ./Ansible-1.pem
This ensures your EC2 instance is automatically registered in Ansible inventory for further configuration.
5. Configuring the Frontend with Nginx
Tasks (frontend/tasks/main.yml)
- name: Update apt repository
  apt:
    update_cache: yes

- name: Install openJDK
  apt:
    name: openjdk-11-jdk
    state: present

- name: Install Nginx
  apt:
    name: nginx
    state: present

- name: Start and enable Nginx
  service:
    name: nginx
    state: started
    enabled: yes

- name: Copy the index.html
  copy:
    src: index.html
    dest: /var/www/html/index.html
    owner: www-data
    group: www-data
    mode: '0644'

- name: Restart Nginx
  service:
    name: nginx
    state: restarted
index.html
<!DOCTYPE html>
<html lang="en">
<head>
    <meta charset="UTF-8">
    <title>Ansible Roles Demo</title>
</head>
<body>
    <h2>Frontend Deployed Using Ansible</h2>
</body>
</html>
This role installs Nginx and deploys a simple frontend.
6. Configuring the Backend with Node.js & Express
Tasks (backend/tasks/main.yml)
- name: Update apt repository
  apt:
    update_cache: yes

- name: Install Node.js and npm
  apt:
    name:
      - nodejs
      - npm
    state: present

- name: Ensure backend_app directory exists
  file:
    path: /home/ubuntu/backend_app
    state: directory
    owner: ubuntu
    group: ubuntu
    mode: '0755'

- name: Create app.js
  copy:
    dest: /home/ubuntu/backend_app/app.js
    content: |
      const express = require('express');
      const app = express();
      const port = 3000;

      app.get('/', (req, res) => {
        res.send('Hello from Node.js Backend by Ajay!');
      });

      app.listen(port, '0.0.0.0', () => {
        console.log(`Backend running at http://0.0.0.0:${port}`);
      });
    owner: ubuntu
    group: ubuntu
    mode: '0755'

- name: Initialize npm in backend_app
  command: npm init -y
  args:
    chdir: /home/ubuntu/backend_app

- name: Install express locally
  npm:
    path: /home/ubuntu/backend_app
    name: express

- name: Install pm2 globally
  npm:
    name: pm2
    global: yes

- name: Start backend using pm2
  shell: |
    pm2 delete backend || true
    pm2 start /home/ubuntu/backend_app/app.js --name backend
    pm2 save
    pm2 startup systemd -u ubuntu --hp /home/ubuntu
This ensures that Node.js backend is installed, dependencies are managed with npm and pm2 keeps the backend running even after reboot.
7. Running the Full Deployment
Once all roles are ready, run your master playbook:
ansible-playbook site.yml -i inventory.yml
This will launch your EC2, install frontend and backend, and start all services automatically.
8. Testing & Verifying
Check the frontend:
curl http://<EC2_PUBLIC_IP>
Check the backend:
pm2 list
pm2 logs backend
curl http://<EC2_PUBLIC_IP>:3000
Ensure AWS Security Group allows port 3000 if accessing backend.
9. Troubleshooting Common Issues
- Express module not found → Run
npm install expressinside/home/ubuntu/backend_app. - Backend not starting → Check
pm2 logs backend. - Frontend not visible → Check Nginx status:
sudo systemctl status nginx. - Custom ports blocked → Update AWS Security Group to allow your port.
10. Important Notes About Custom Ports
- If your backend runs on ports other than 80/443, update AWS Security Group to open TCP for that port.
- Example for Node.js backend running on 3000:
- Go to EC2 → Security Groups → Inbound Rules → Add Rule → Custom TCP → Port 3000
- Source: Anywhere (0.0.0.0/0) or your IP.
Conclusion
In this guide, you learned how to:
- Launch AWS EC2 instances automatically using Ansible.
- Deploy frontend using Nginx and backend using Node.js & Express.
- Automate backend service management using pm2.
- Test and troubleshoot deployments, ensuring a production-ready environment.
By following this structure, you can extend this setup, add multiple backends, connect APIs and even integrate CI/CD pipelines.